Saturday, 10 December 2011

Christmas Cards!!!


Hi all!  Look at me ... 2 blog entries already for December!!  Woot woot!! 
So here are my awesome Christmas Cards that I have been working on for the last few days.
I used the Close to My Heart "Wishes" Card Confidence Program How-to book.  There are 3 card workshops in the book that will walk you through step-by-step in creating your cards.  The instructions even show you whether to use cardstock or B&T Duos paper.  The one I used was the Greeting Card workshop. The paper pack I used for my cards is the Believe package also from Close to My Heart.  
All the products I use are CTHM products; and they are available on my website - (with the exception of Constant Campaign items and Stamp of the Month)  www.tinawolfe.myctmh.com


On the first card, the stamped sentiment comes from the Stamp set "Holiday Wishes" which was the November Constant Campaign.  The mistletoe stamp is from the October Stamp of the Month; and the itty-bitty bit of gold glitter is the Glitter gel.

The second card also uses the "Holiday Wishes" stamp set and a few of the brads - Green Assortment.  When you follow the step-by-step instructions and also use the pre-made paper packs, these cards should be completed in just a few hours; with the exception of embellishments of course :)  However, sometimes fewer embellishments and keeping the cards simple results in beautiful cards as well :)

This one is one of my fave's!  Using the  "Holiday Cheer" stamp set for both the sentiment as well as the ornament and adding random dots of Silver Glitter Gel makes this card simple yet beautiful!


Card #4 used the Green Ass't brads and then the December Stamp of the Month for the "Dec" stamp.


For Card #5, I used the November CC Stamp set once again for the sentiment as well as the stars.  Then I traced the stars with my most favorite CTMH product of all.... Liquid Glass.  This gives it a "glassy" look and a "puffy" texture, similar to puff paint perhaps....?

This workshop gave me 16 cards; 2 of each design.  Yes I know, I only posted 5 of them... I had already handed out a handful of cards before I realized I had no pics yet!  The nice thing about these workshops is that you can rotate the cards therefore giving you even more variation so not         each and every family member gets the same card!  
So, there you have it!  We had family pictures taken in the fall, by my light-breaking sister (from the birthday post)... who did a FABULOUS job btw, and I matted the pics and attached them to the inside of the cards.  Voila!  My Christmas cards and family pics are ready to be handed out to each and EVERY one of my God-given family members.  
And just in case I don't get to post again before Christmas, as concerts, programs, and parties are quickly approaching;  I want to wish every one of you, A VERY MERRY CHRISTMAS!!  May we all take the time to celebrate the birth of our greatest gift of all; Our Savior, Jesus Christ!

Thank you all for reading my posts!  
Tina Wolfe

PS- Big Announcement coming real soon from CTMH!!!  Stay tuned!!!

Friday, 2 December 2011

Oh my GOODNESS!! It's December already?!

I have really not kept up with my blog through all of November?!  I suppose the calendar doesn't lie right?  Well, I have had a REALLY busy, busy November.  I'll try to keep this post as short as November was :)  LOL
So, first of all :)  And totally NOT CTMH related - All three of my beautiful blessings are November babies, so needless to say... I had 3 birthday parties to plan and hold :)  One of the highlights of one of the "sleepover"  parties was these AWESOME goodie bags!

Here is my AWESOME sister who agreed to "help" me with the bags :)  Hi Sarah!  And would you believe these awesome women could not work the double threaded sewing machine BUT we could totally work the 4 threaded serger... LOL ... go figure :)

So we had a pattern but I altered it due to the sewing machine not working.... The other bag would have been way cool too but here's how we made these bags.  
1) We started with a pillow case (purchased a set of two @ the dollar store for a buck!)
2) Then we cut out a "U" shape from the top - as pictured here 

3) Then I, (Ok Sarah actually) serged around the part that is going to be the strap and the bottom of the "U" which is the opening of the bag


Awesome serging job Sarah! LOL :)

Below is the "U" piece that was cut out and I plan on recycling that by sewing around the sides and bottom and attaching a strap to make yet another bag :)  

4) Lastly, we tied a knot in the two straps and Voila!  Bag was complete!  The girls LOVED them!  And I filled (ok not all the way full) of nail polish, homemade lipgloss, playdough and bubbles and of course candy :)

And the bags can also be used as messenger style bags :)

So then... the day of the party I baked and decorated the cake for my dear 8 yr old daughter :)
Decorating was quite simple as you can see, however splitting the reese's pieces into colors was a little time consuming :)  


I must say the cake was AWESOME!  However, I did note that for next time, I will not load the cake with reese's pieces when all the girls are staying for a sleepover :)  LOL ... imagine, five 8yr old girls up till all hours of the night trying to work off a sugar rush... It really doesn't result in a lot of sleep :)
All in all, it was an AWESOME birthday party and the kids had a ton of fun!!

So after all the girls were picked up the next morning, I scrambled to tidy the house and decorate cake #2 for the weekend!
This time is was for the 5 yr old boys... Ya four 5 yr old boys, one a little younger than that and one 6 yr old girl... Oh and my nephew (who did awesome card tricks for entertainment!) and my other AWESOME sister... LOL!  Oh yeah it was interesting to say the least!


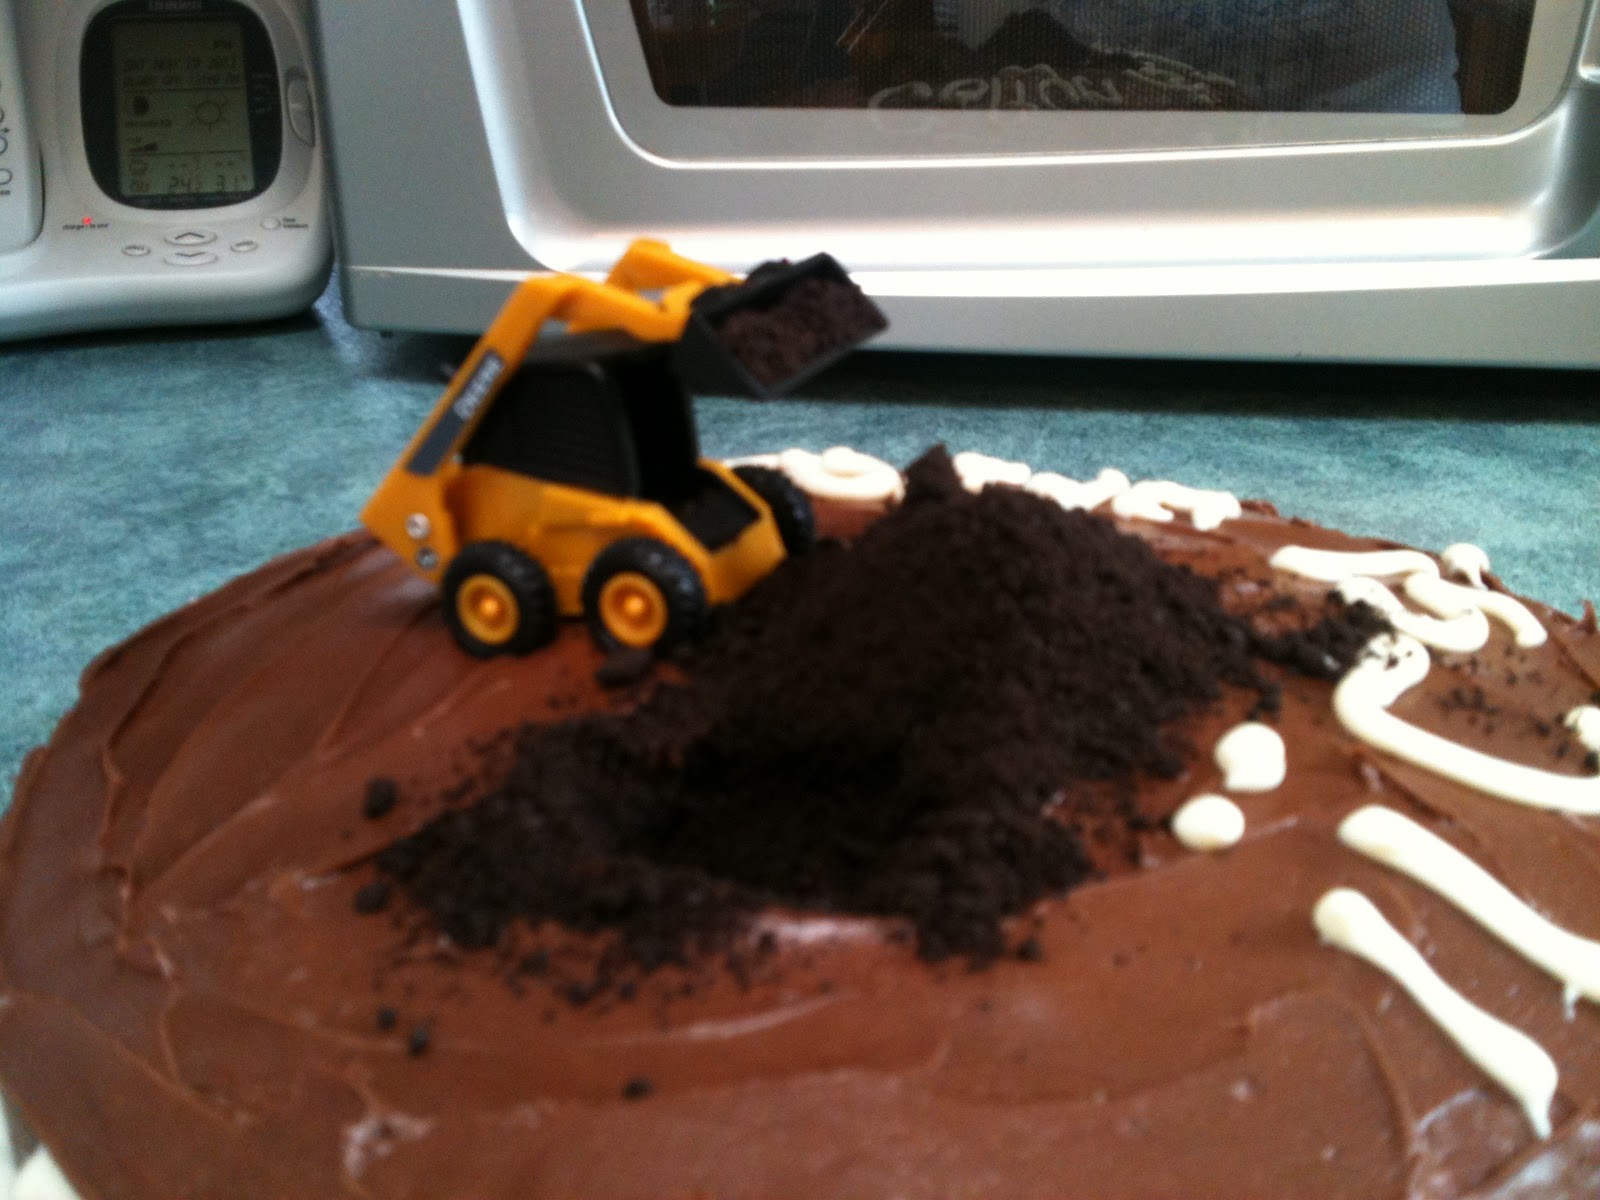
That was my awesome cake!  It tasted fabulous!! I started with a chocolate cake, frosted in chocolate of course :)  Then I scooped out a hole and spread some Oreo crumbs in the hole and dumped a little pile beside the hole; then plopped a bobcat on it and called it done!  The kids (especially the birthday boy) LOVED it!  The kept asking if the bobcat really made that hole in the cake...??? I'll never tell... mwahhaa :)

That's my handsome 5yr old birthday boy!  He had to have a mohawk for the day... What do mom's know about making a mohawk??? !!  

And just a few of his little gifts from the party guests :)  And through-out this whole 2hr birthday party... the kids were awesome!  As I mentioned earlier, my nephew entertained with card tricks and his mom entertained .... well... by being herself!  LOL :)  And the only damage we incurred was the fact that entertaining sister kinda sorta broke my kitchen pendant light while unscrewing the broom from the handle for limbo....  Ya... the biggest kid of all... broke my light fixture!!! Ah... wouldn't change the weekend for anything!!!  
Thanks for reading :)  Let me know how/what you do for your kids' birthday parties!  I would love some more ideas for next year!!